Interacting with the EAS Web Client
The EAS Web Client provides a way for accessing Evolve App Server (EAS) functionality and features, including studies, visualisations and trend analysis.
Accessing the Essential EAS Web Client
Access the EAS Web Client, using the link: https://evolve.essential.zepben.com/
The Web Client will ask the user to log in, enter a username and the password. After signing in, users are able to access EAS, and it's functionalities.
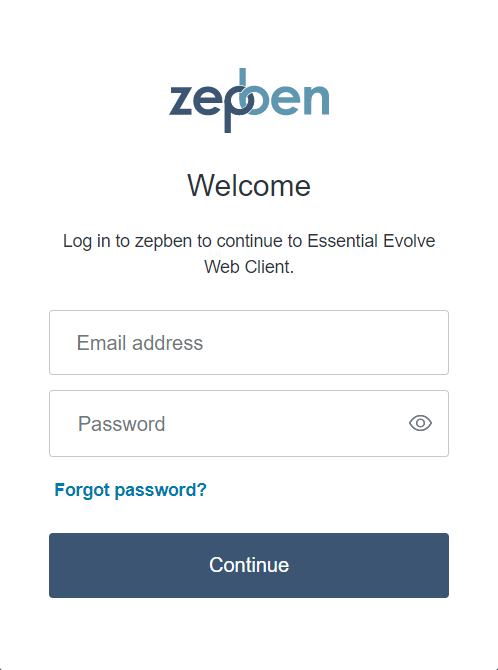
If you need an account please contact bill.tarlinton@zepben.com
Features of the EAS Web Client
The EAS Web Client counts with multiple features that allows its users to have a more easy and intuitive navigation.
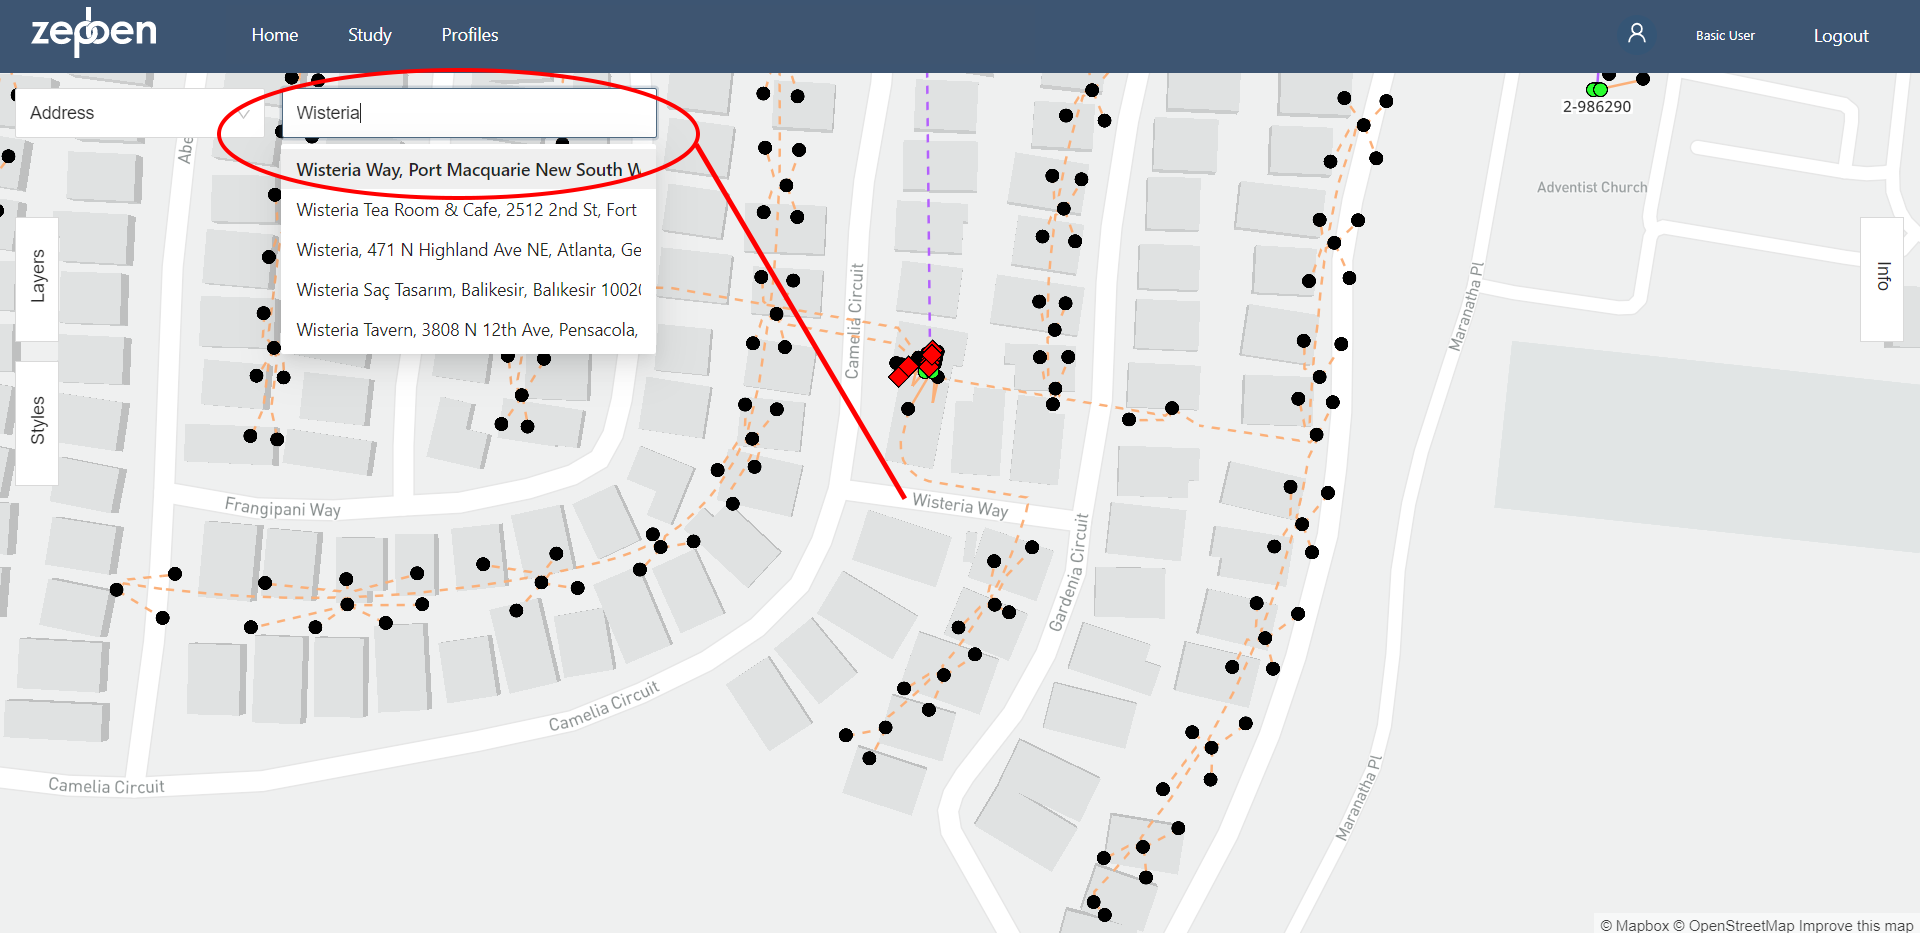
Searching Address
Users are able to search for a specific address or location by typing it into the search box.
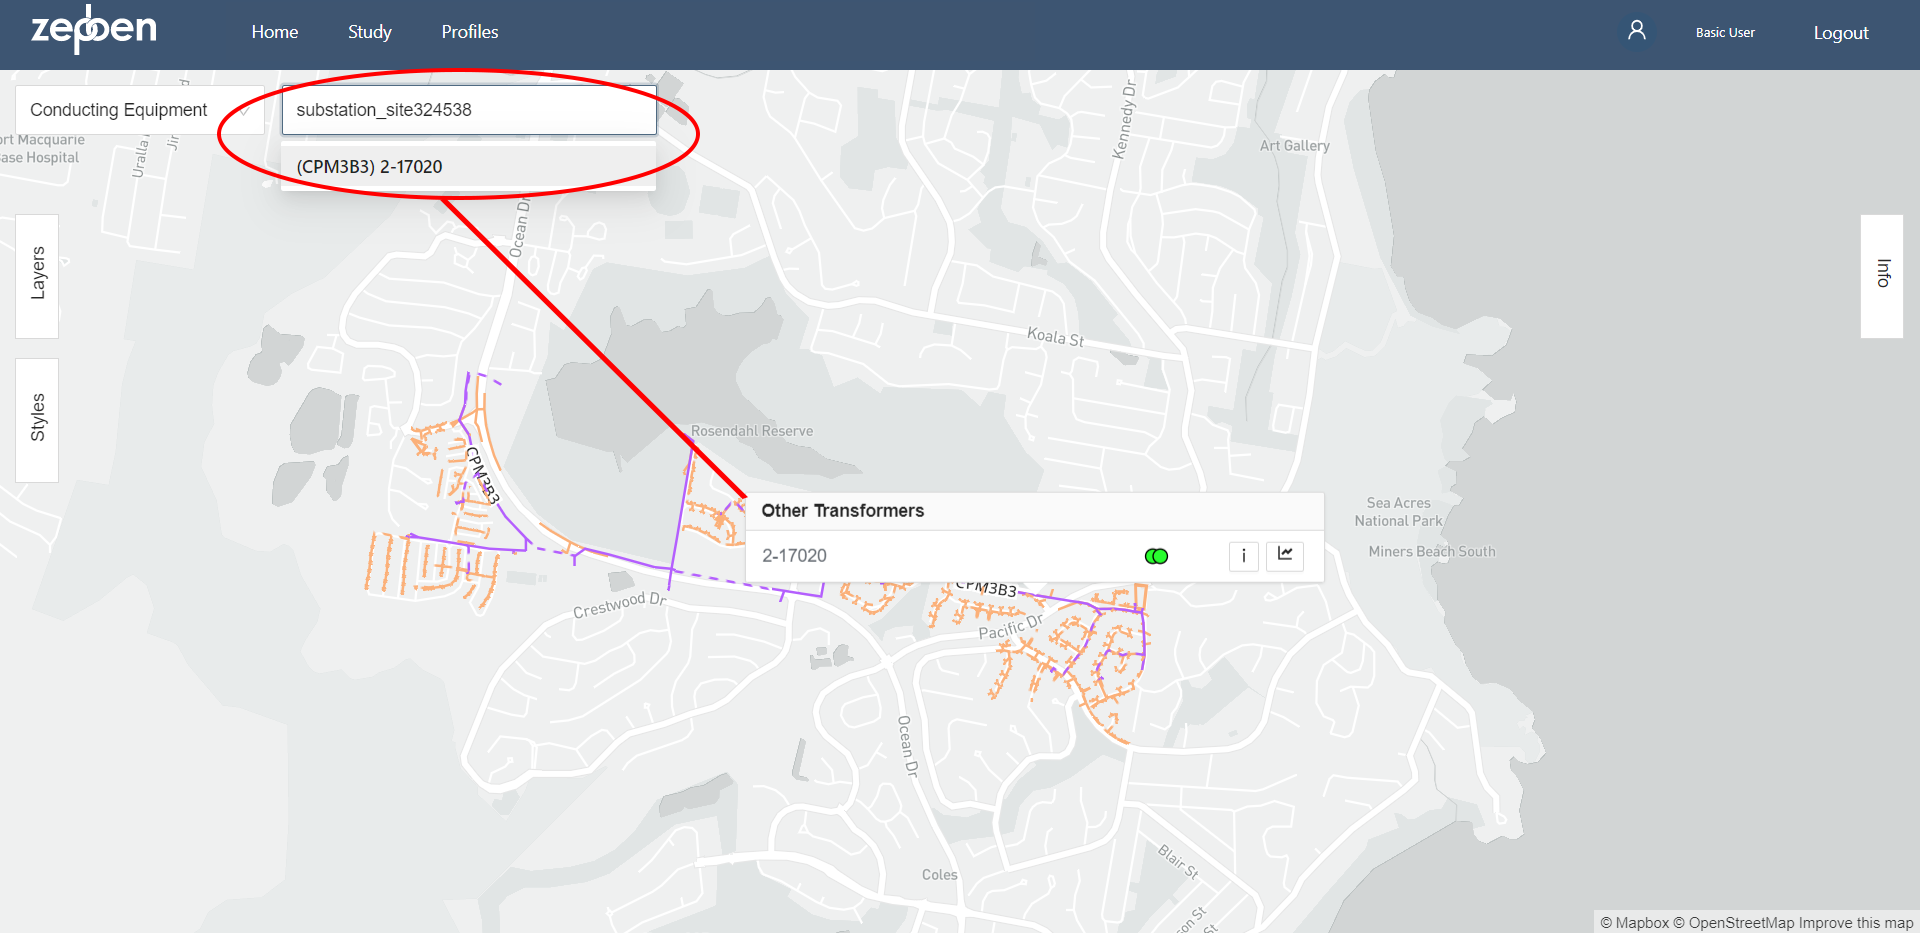
Searching Equipment
Users are able to search for a specific Conducting Equipment by typing the ID into the search box.
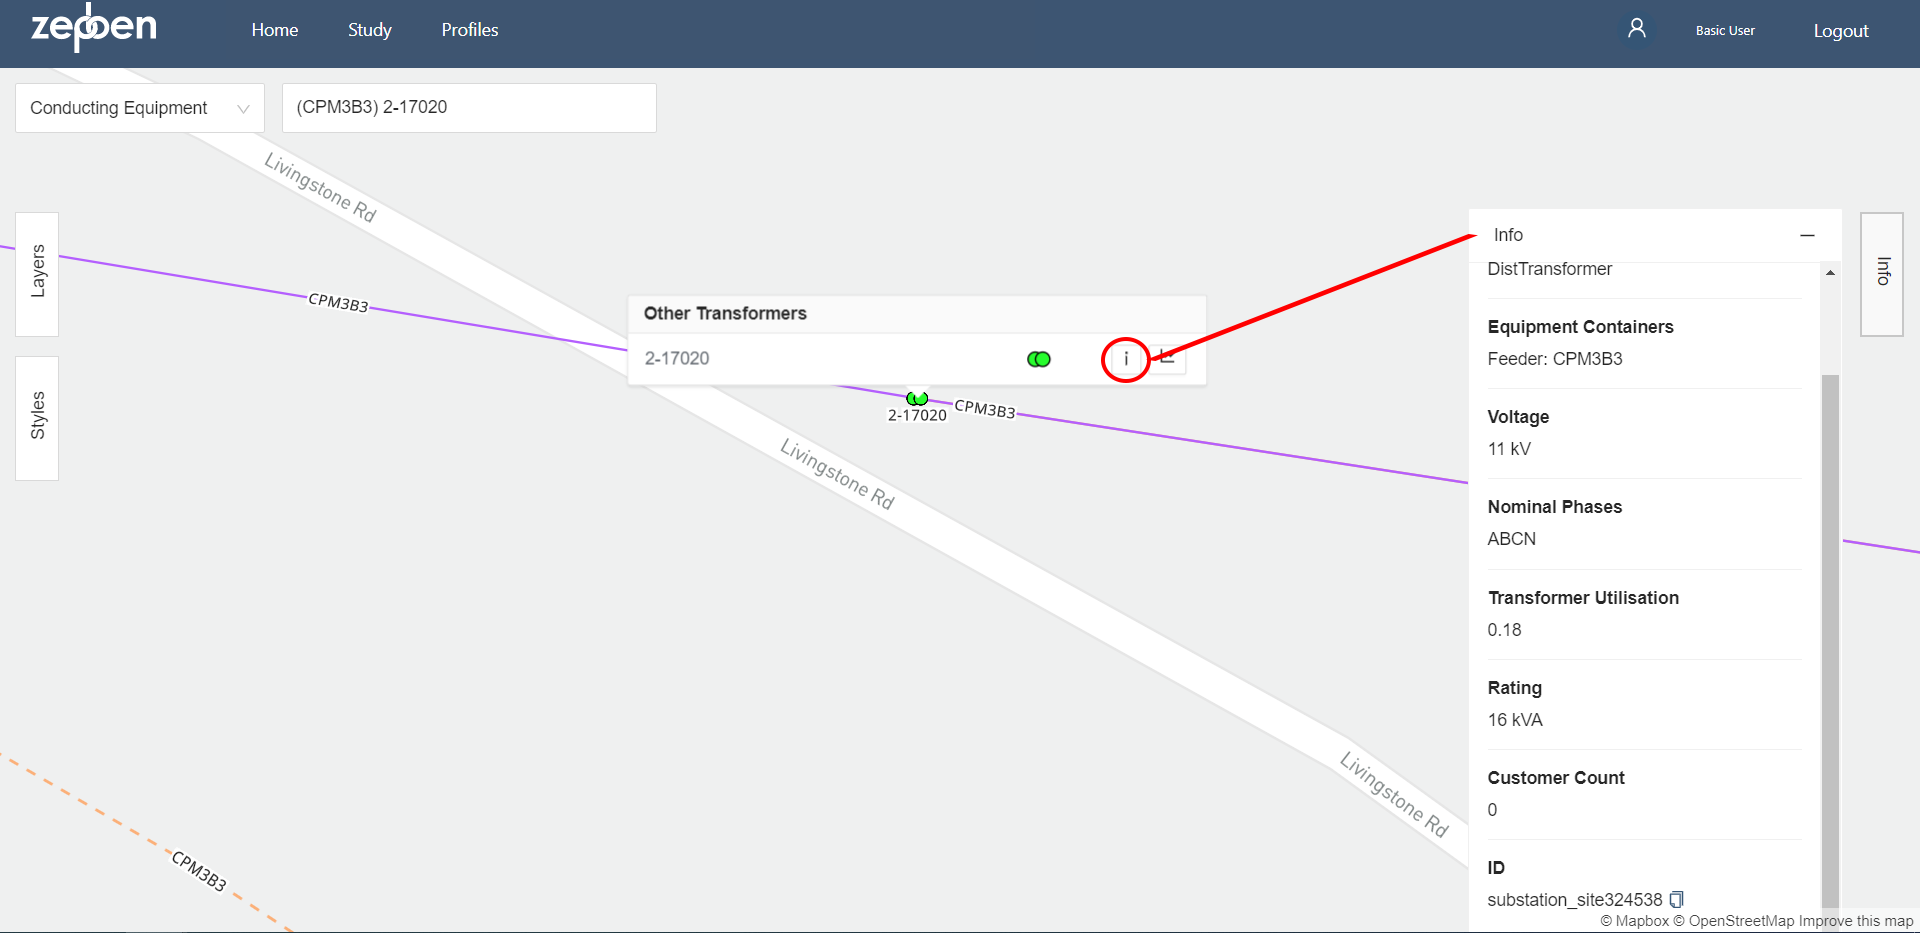
Equipment Information
Further information about the Conducting Equipment can be viewed by clicking on the information button:
Using Layers
The EAS Web Client allows users to customize the visible data by using layers. The layers panel can be accessed by clicking on the "Layer Button" that is located at the left. For example, if a user wants to only see the Power Transformers in a specific are, they can accomplish this by adjusting the layers.
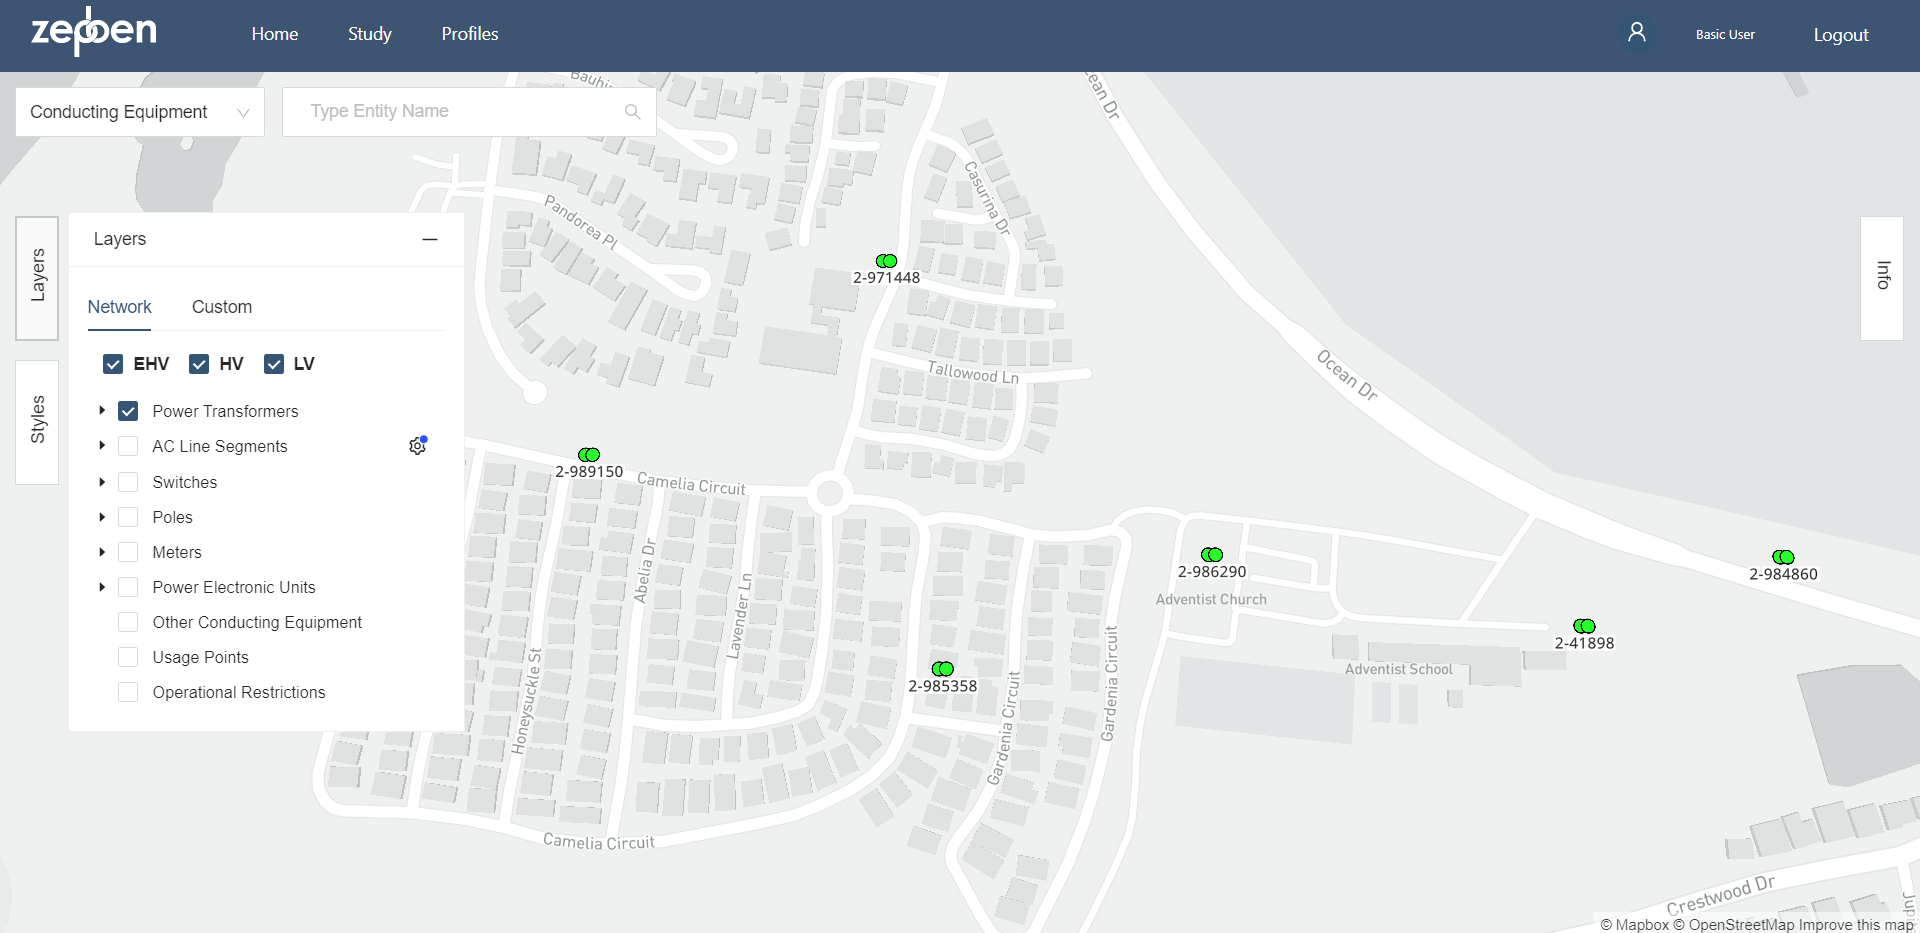
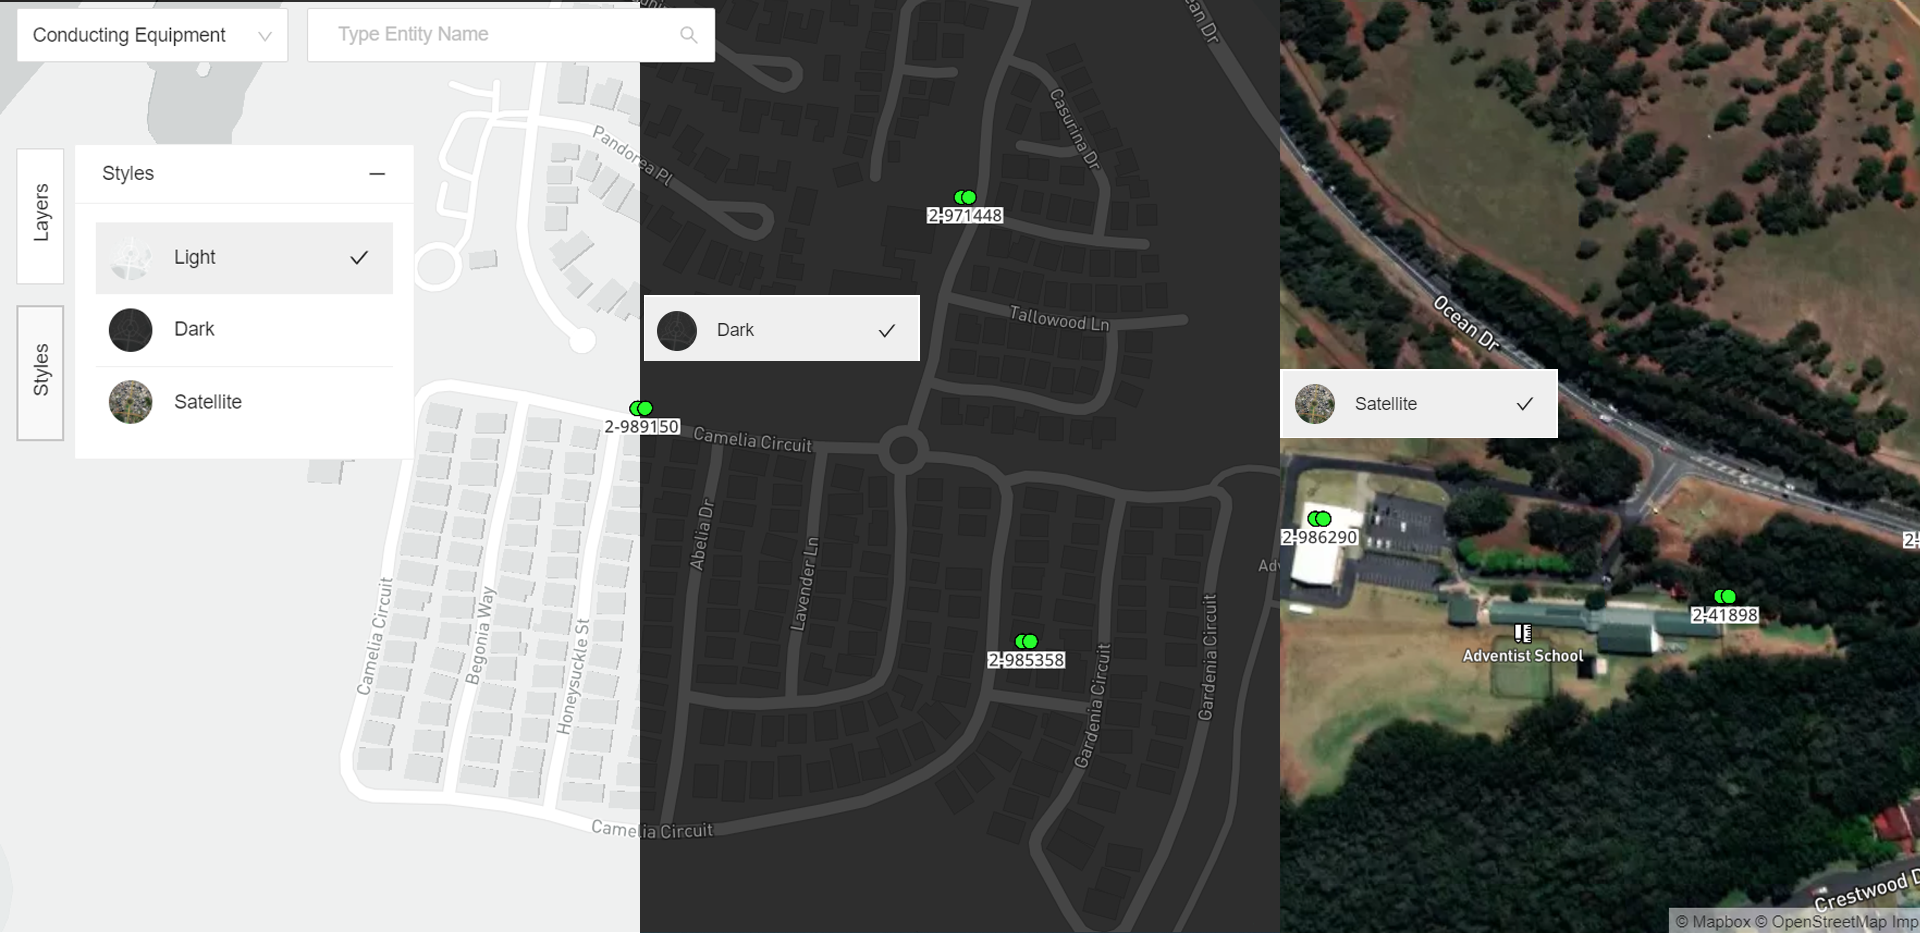
Styles
Likewise, the user can customize the style of the map by clicking on the "Style Button" that is located at the left.
Using and Creating Studies
The EAS Web Client allows users to create and view studies by clicking on the "Study Button" on the navigation menu.
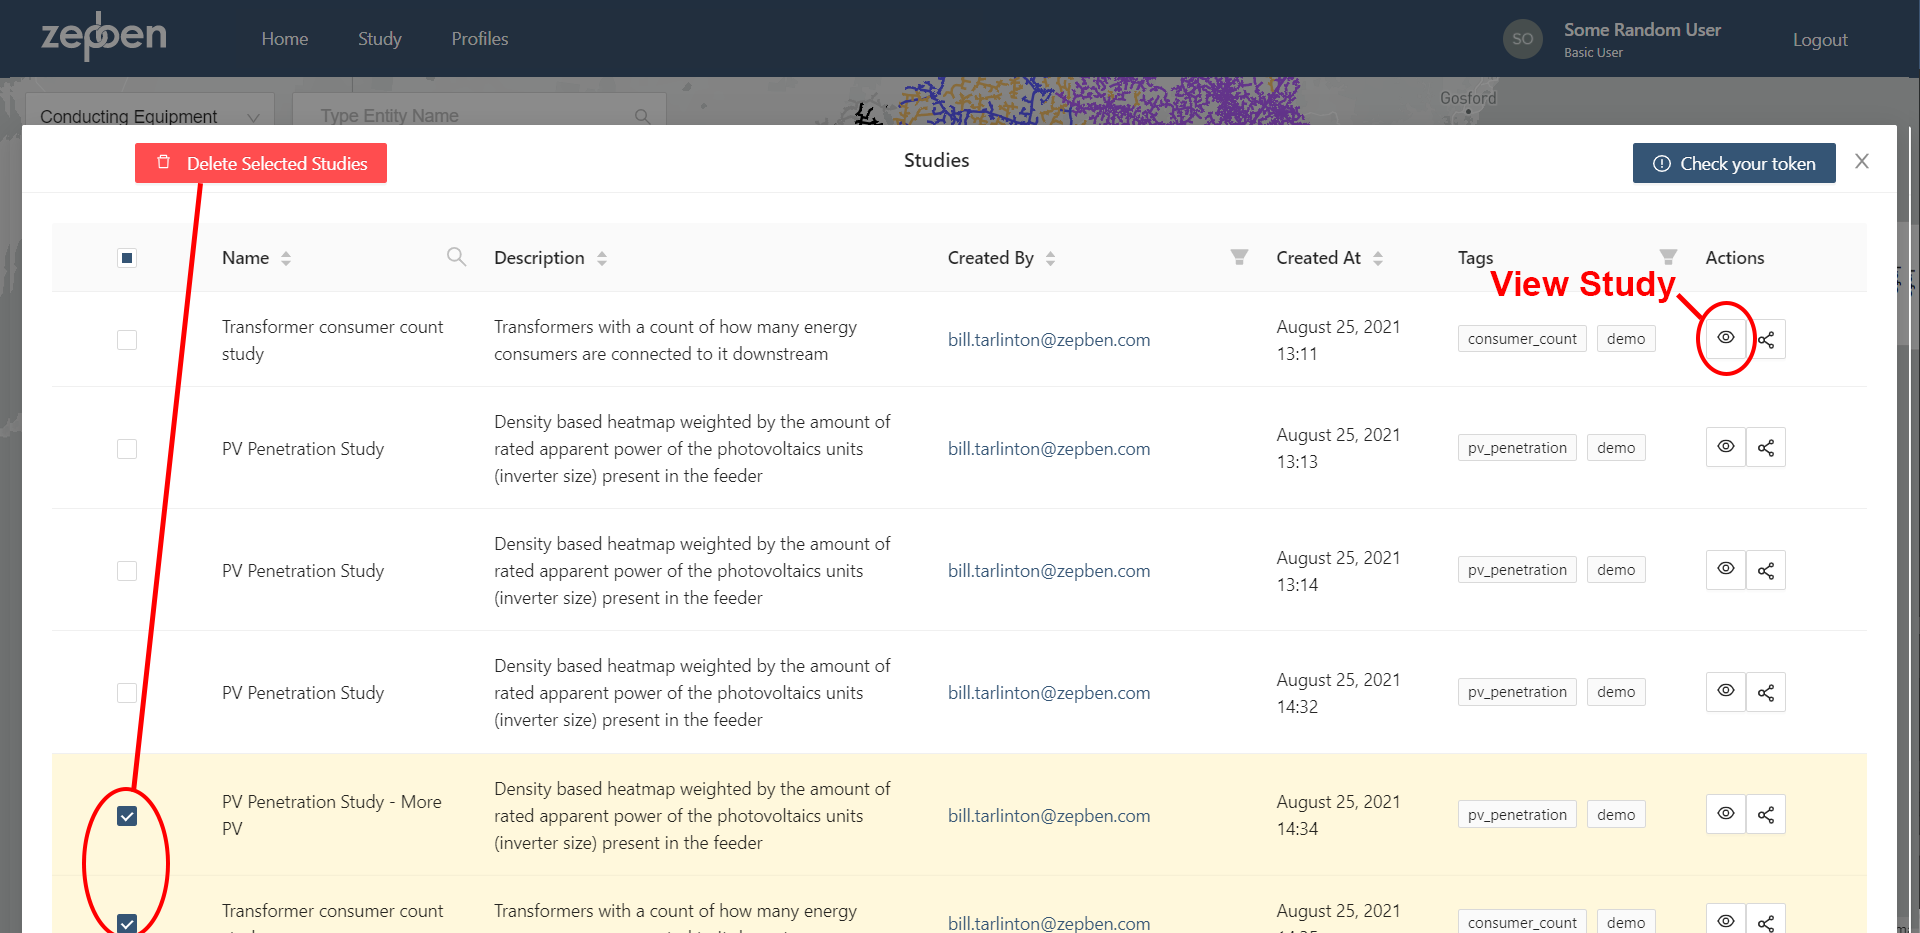
Accessing the Study List
By Selecting the option "Studies" in the "Study Menu" users are able to see all the existing studies. Users are able to view each studies by clicking the "View Button" under the Action colum on the right side of the table. Users can also delete one or multiple studies by selecting them and clicking the "Delete Selected Studies Button"
Creating a Study
Users are able to create, upload and view their own studies. Studies can be uploaded manually or using a script.
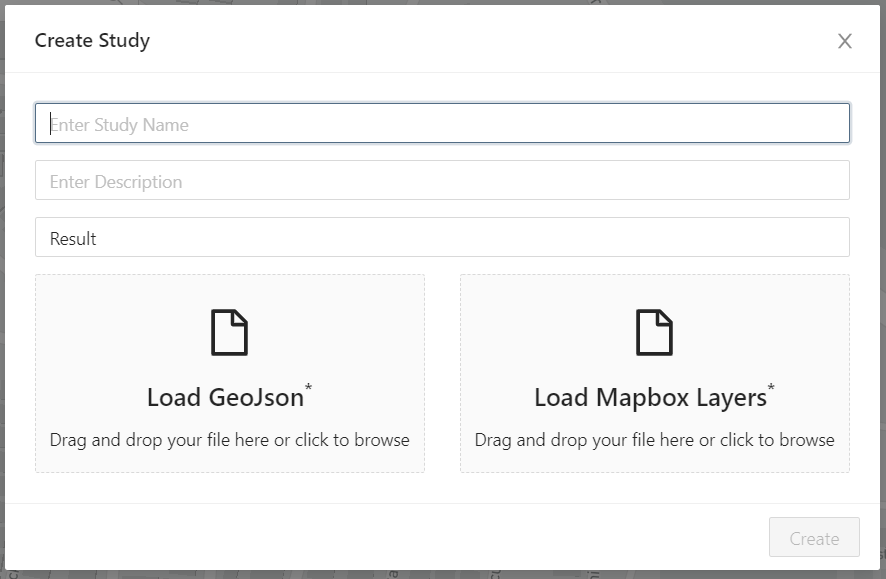
Uploading a Study Manually
By CLicking on "Studies" on the Navigation Menu and then Selecting "Create Study". User will need to input a Study Name and can Include a Study Description. Two files must be provided by the user, one being a GeoJson file and the other one being the style for the study.
Once the Study is created successfully, the New Study will appear in the Study List.